pnetlab download
Step 01
Download the .ova file and deploy on virtualization platforms such as VirtualBox, VMWare,…
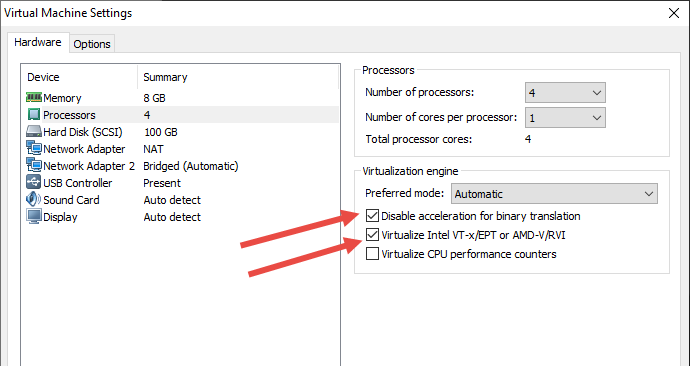
Enable virtualization on Vmware
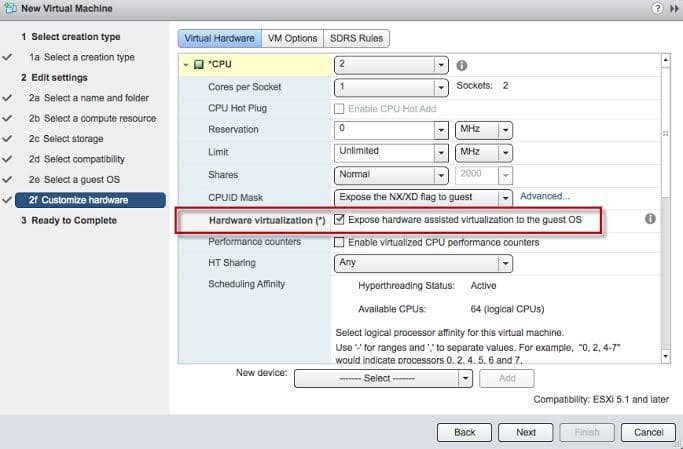
Enable virtualization on ESXI
| Link Download | MD5 Checksum | Size |
|---|---|---|
| Link Download PNET 4.2.10 Google Drive | 2G | |
| Link Download PNET 4.2.10 Google Drive (Backup 1) | 2G | |
| Link Download PNET 4.2.10 Mega (Backup 2) | 2G | |
Note
- You must enable Virtualization to run Qemu Node.
- You have to make sure Virtualization is enabled in your BIOS
- If Virtualization is not enabled you will meet this warning on the console screen: WARNING: neither Intel VT-x or AMD-V found
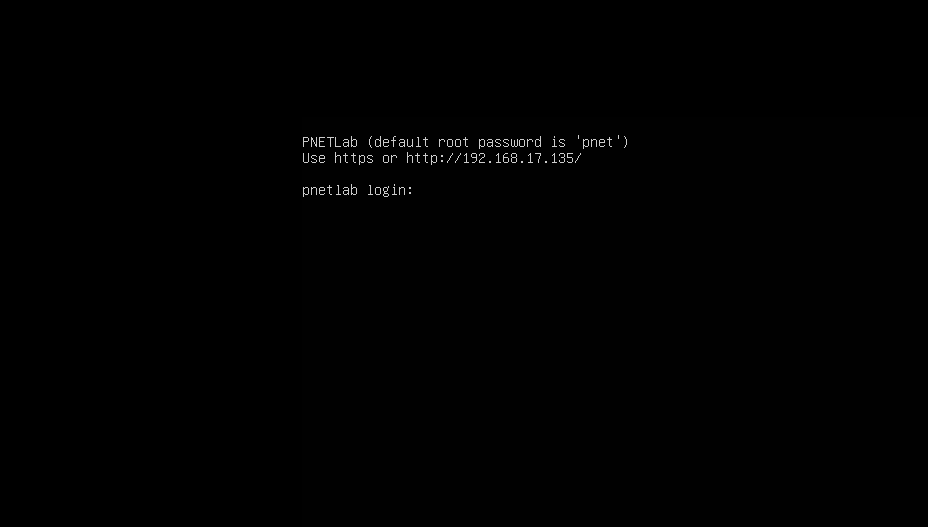
Step 02: Register and Login
- Access to your box by a browser (through IP address in your PNETLab box - in my case, the IP address is: 192.168.17.135)
- Login by default account: root/pnet then complete the initial setup process. If you don’t have any idea about any field just leave it default
- After finish the initial setup, If you want to use Online Mode you need to check the connection to internet.
- To check internet connection run commands: ping pnetlab.com; ping user.pnetlab.com, ping uploader.pnetlab.com, ping docker.io
- In case you can not ping to internet, please try:
- Reset network adapter of virtualization platform (Vmware: Edit > Virtual network Editor > Restore Default)
- Disable then enable virtual network card on your window (Vmware: vmnet 1 and vmnet 8)
- Use only one virtualization platform (Vmware: uninstall virtualbox or hyper-v)
- You’ll be linked to the Login form.
Note:
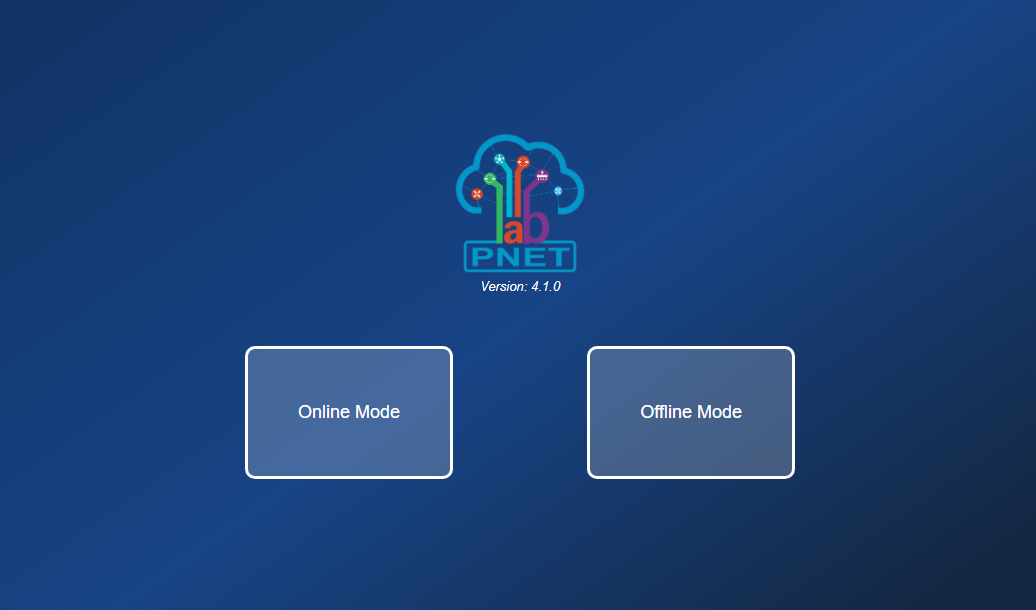
There are two options, you can log in: Online and Offline mode (for more detail you can check this link: https://pnetlab.com/pages/documentation?slug=system-mode-in-pnetlab)
Offline Mode:
- Don’t need internet to work
- Don’t need to register. Login by default account: admin/pnet
- Support full functions of PNETLab
- You can only download and use Open Labs (The Labs with “Open” in the top) on the Store
- You can not share or sell lab to the Store
- Limit 10 accounts (Can be upgraded but require internet)
Online Mode
- Need internet to work
- Need to register.
- Support full functions of PNETLab
- You can download and use all Labs on the Store
- You can share or sell lab to the Store
- Limit 10 accounts (Can be upgraded)
- If you select OFFLINE MODE: Just login by default account: admin/pnet then go to next steps.
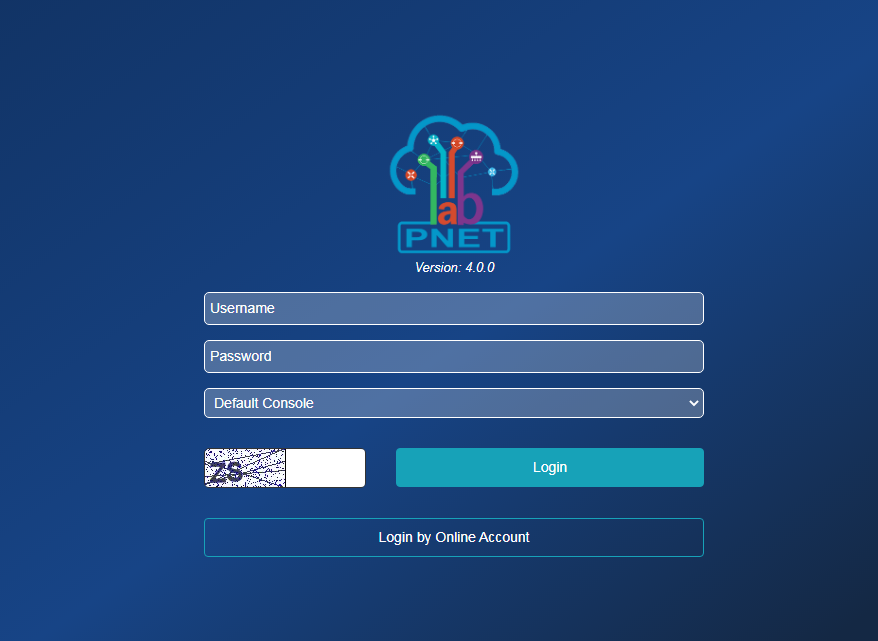
- If Select Online Mode: You need to create an account. Make sure your PNETLab can connect to internet.
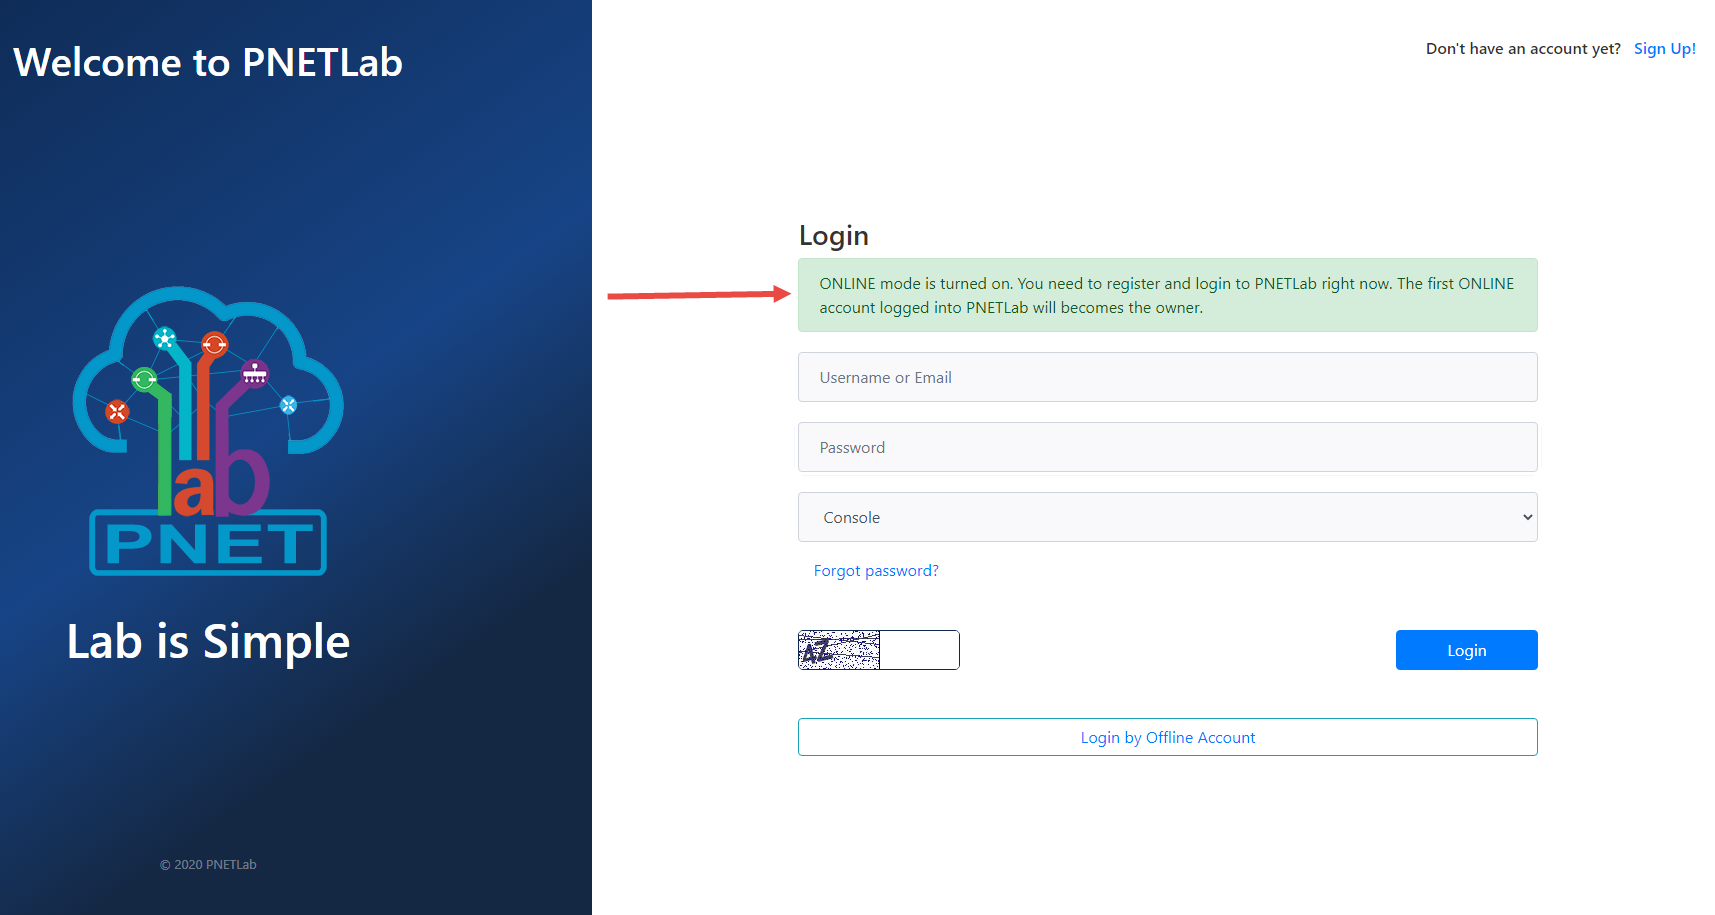
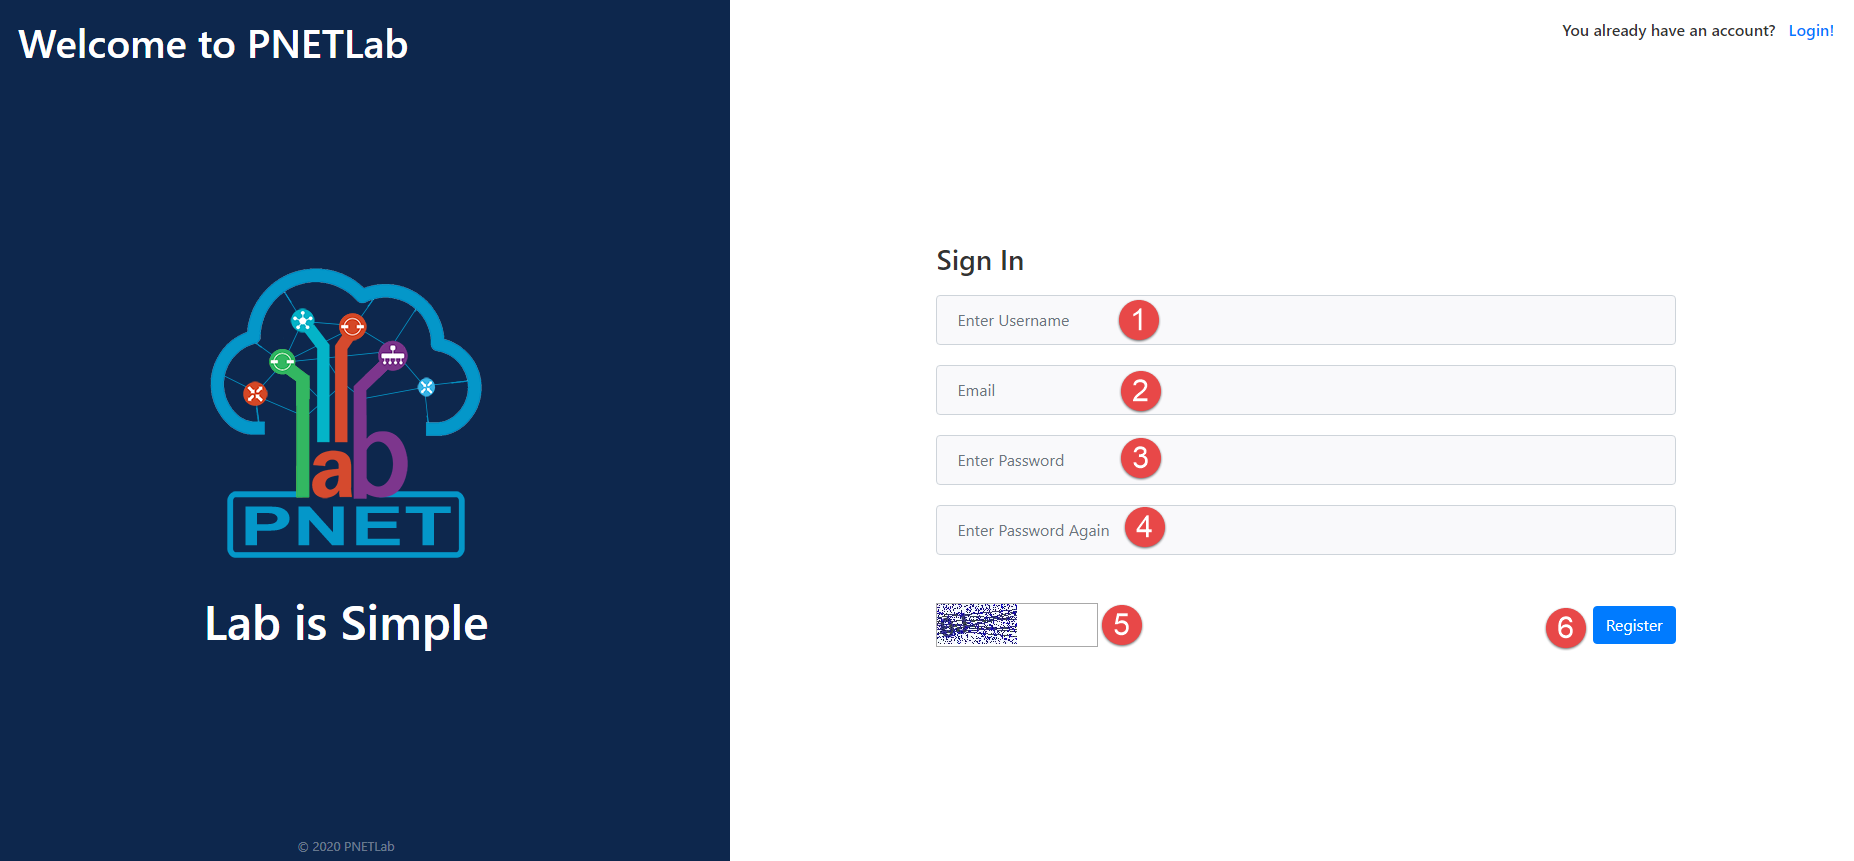
- If you still not have an account click on Sign Up.
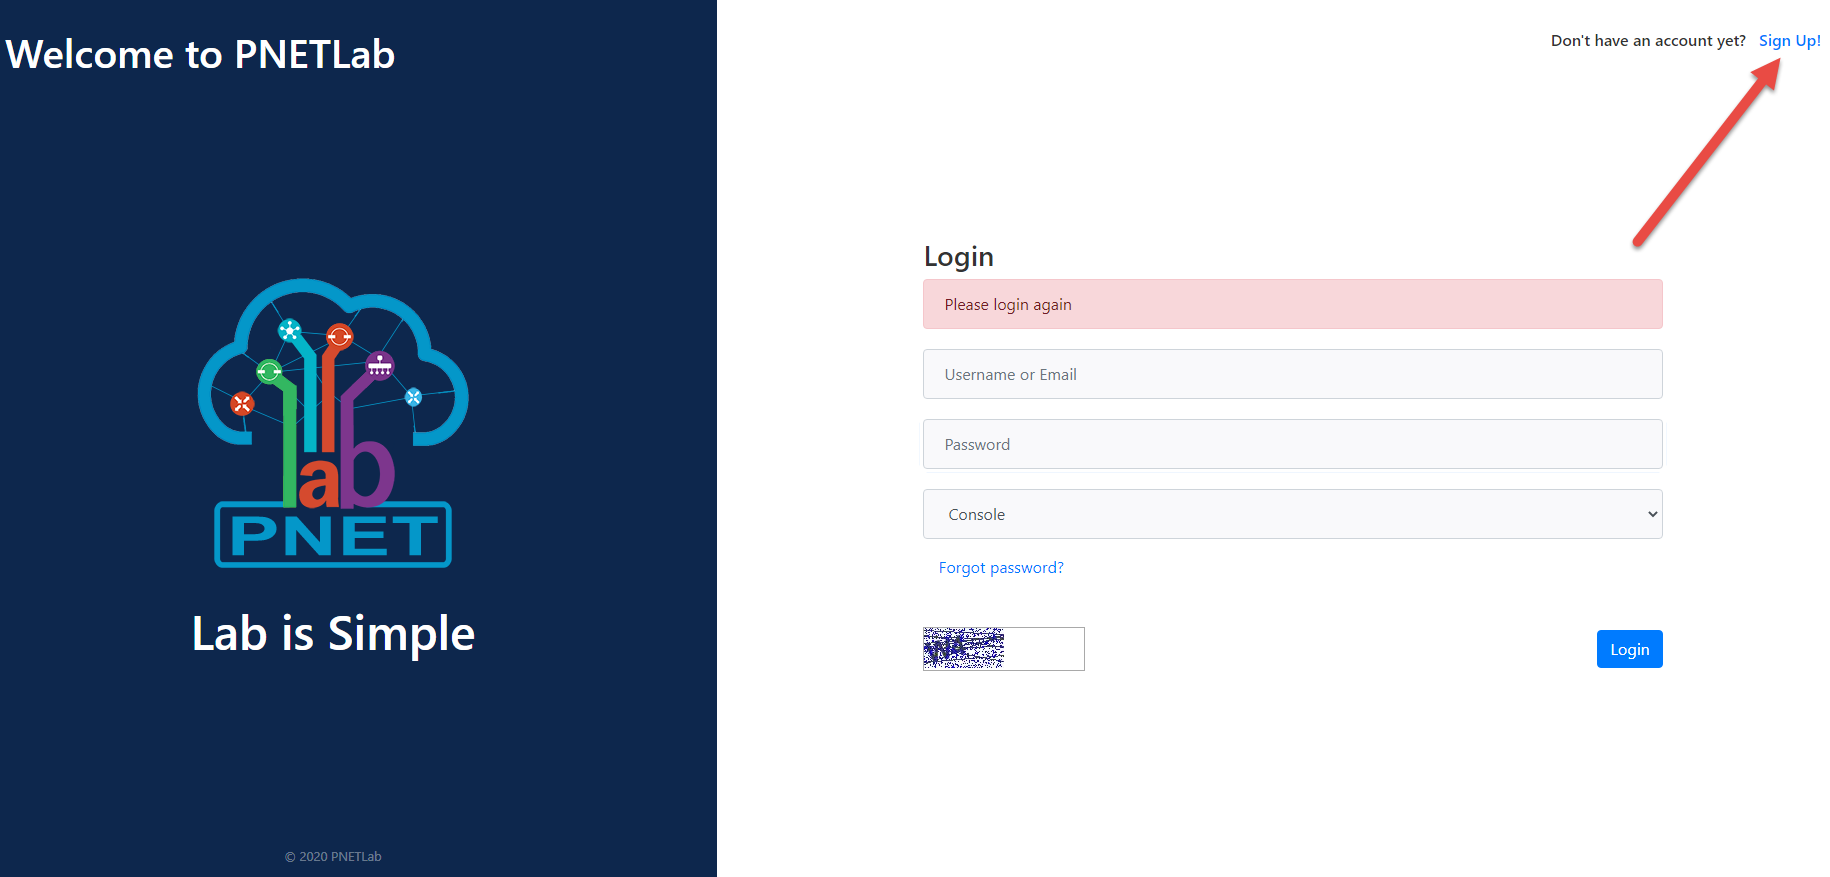
- Fill in the Sign In form and click Register. A confirmation email will be sent to your email address in 2-3 minutes. Click the Verify button to complete your registration.
- After that, you can log into the PNETLab box and you can use hundreds of free labs

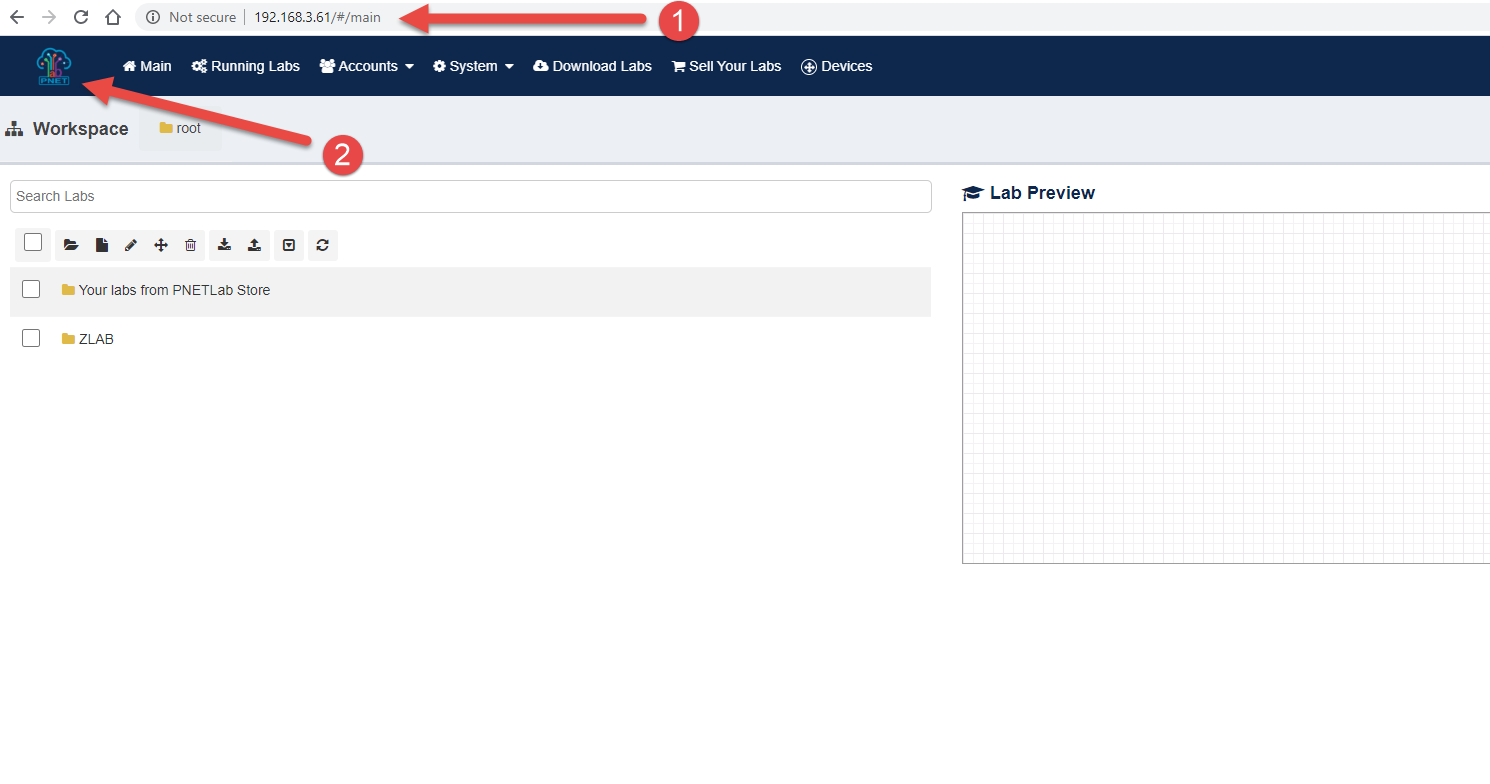
Step 03: Go to Store
- After login to PNETLab Box from Vmware (with your IP address), Click to logo PNETLab then you will go to PNETLab Store
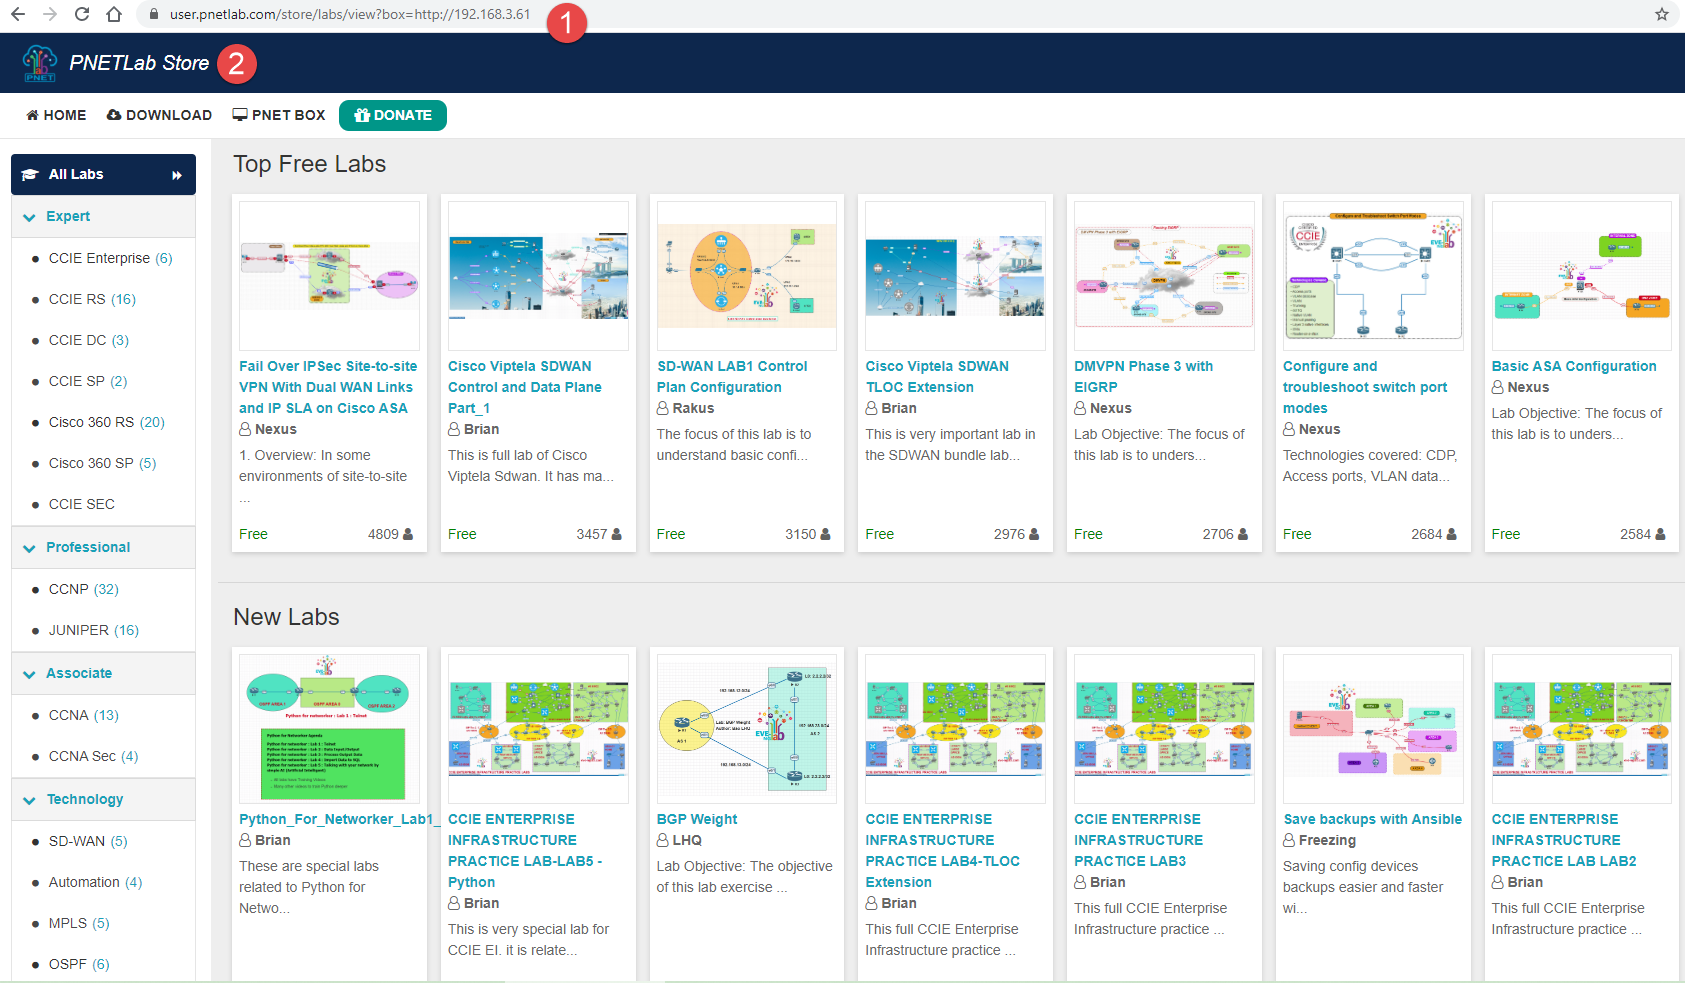
Note: There are a lot of Labs from Store, and All labs are free, when you download a lab, you will get Lab file, workbook and IOS (Go to Step 4 for more detail).
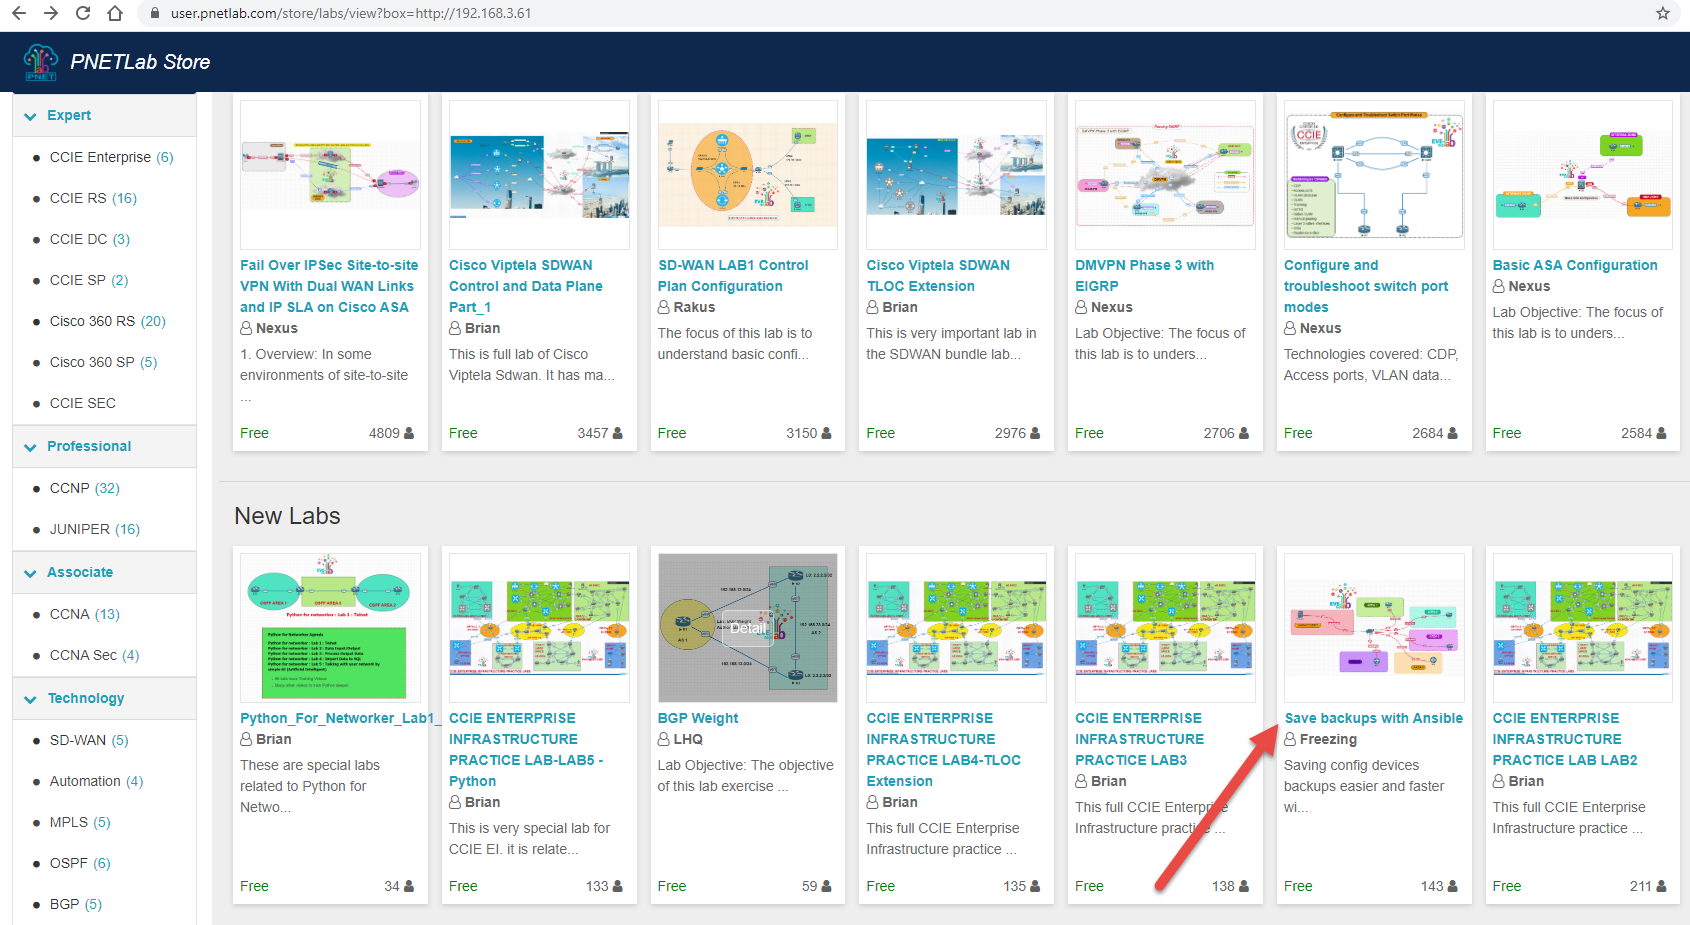
Step 04: Get Lab and Learn
- From PNETLab Store, choose a lab as you want to practice (Example: Save Backups with Ansible)
- Click to Get Lab button
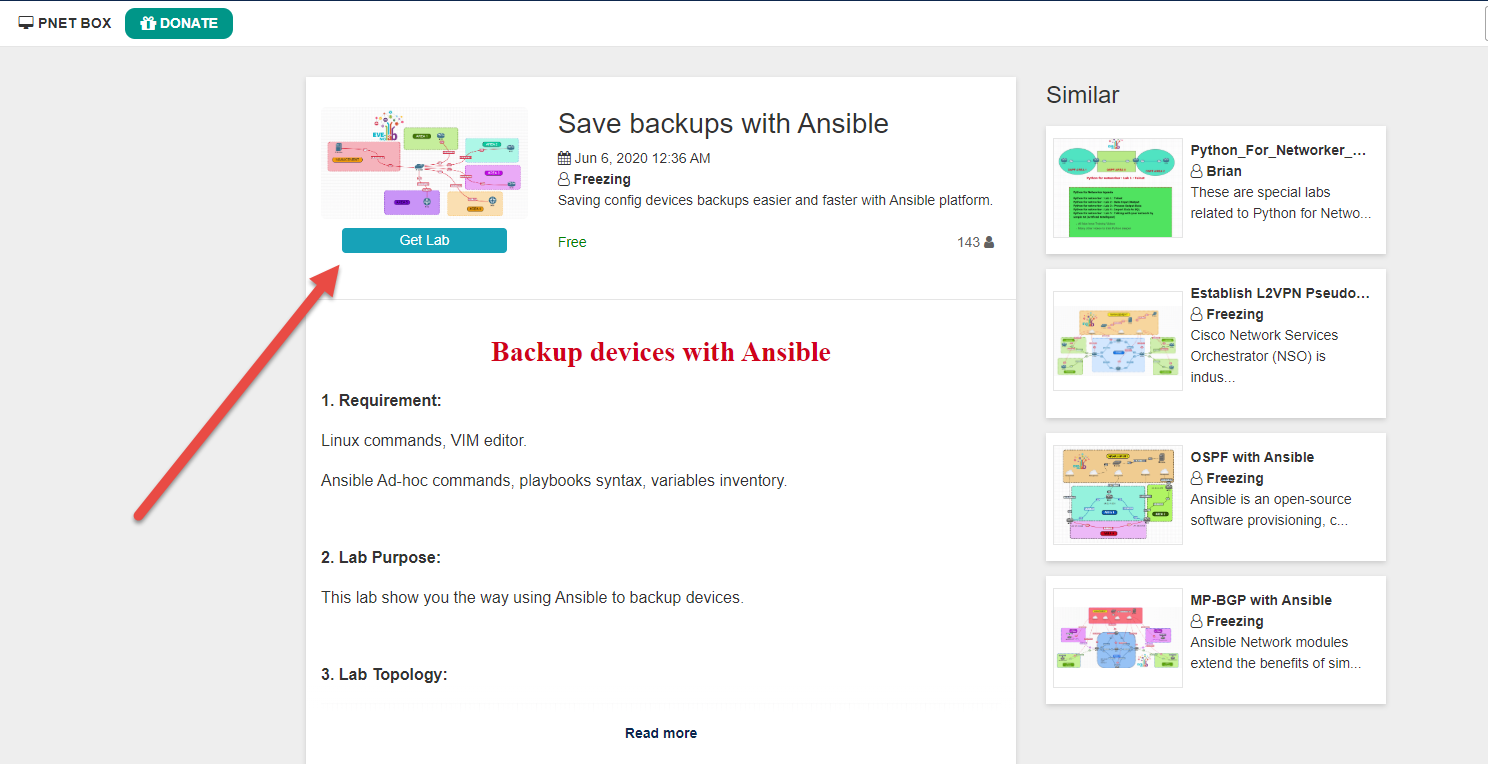
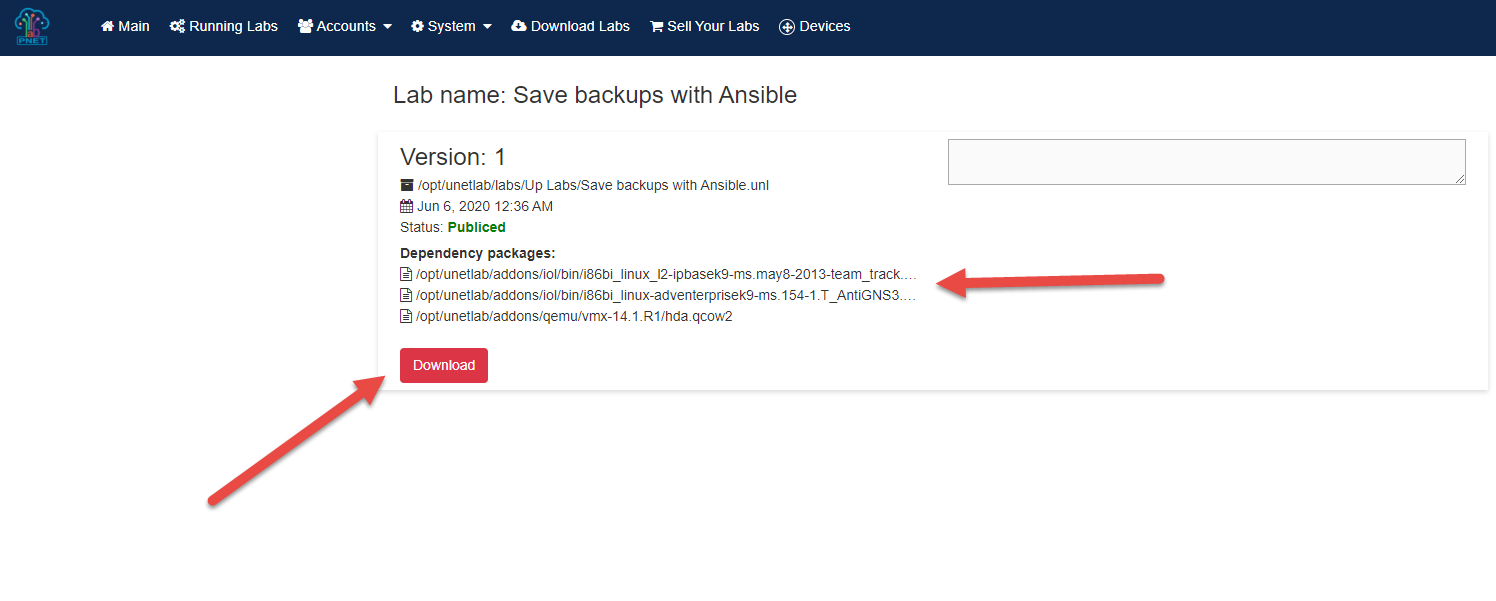
- Then click to Download button (Lab is included: lab file (unl), and workbook)
- Note: PNETLab does not provide IOS anymore so you can not see any Dependency packages. All nodes in the lab will not be able to start, to fix please refer: LINK

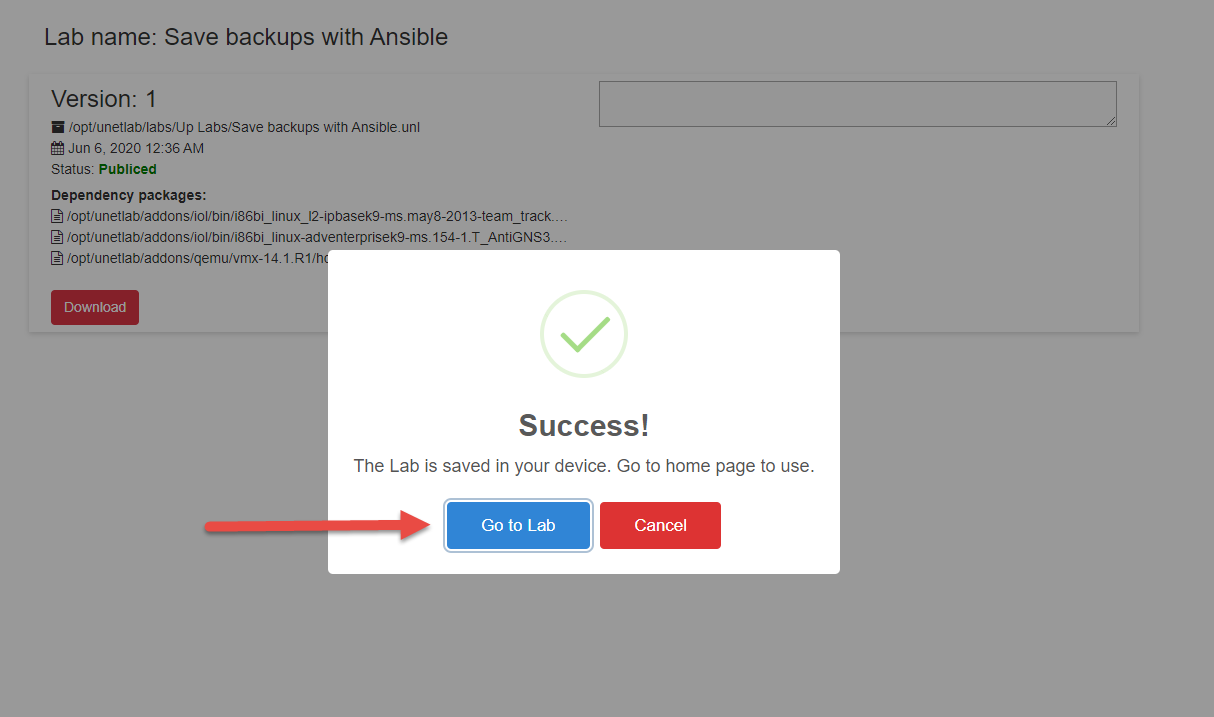
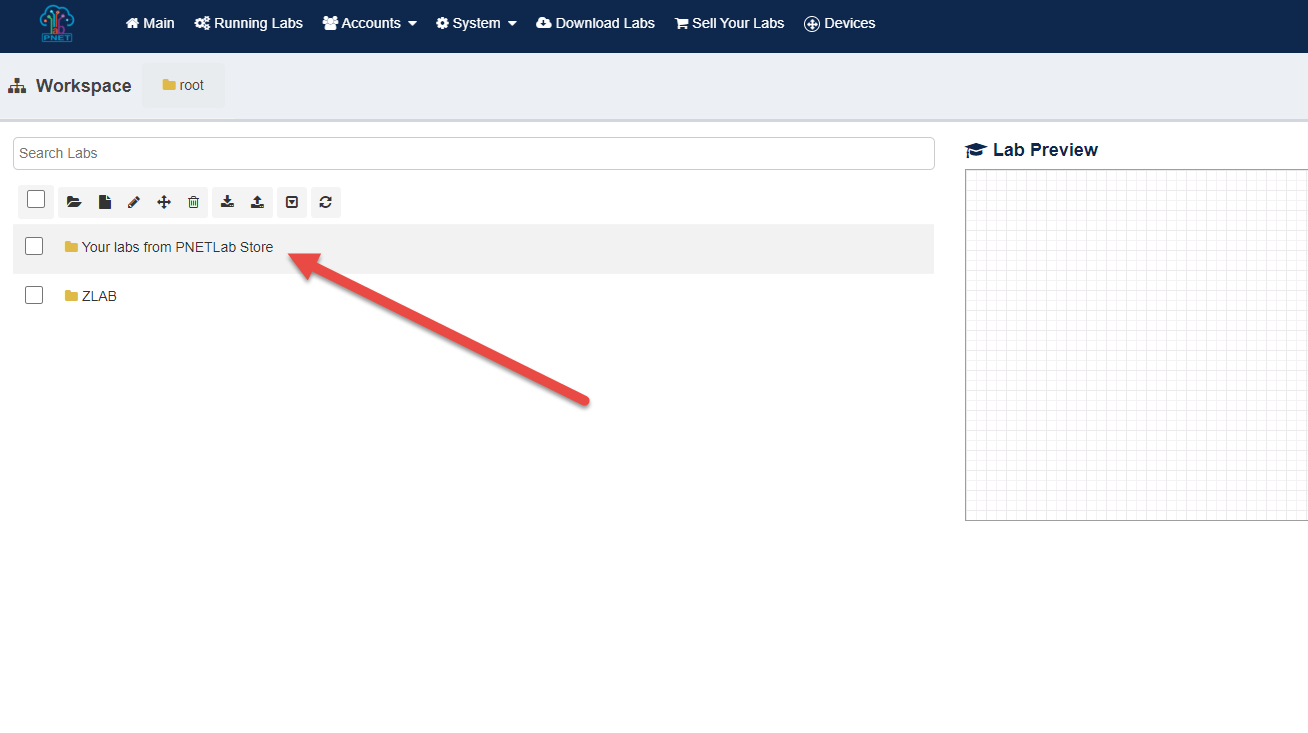
- After completes download LAB (Lab file, IOS, and Workbook), click to Go to Lab button, then Lab will download to the folder: Your labs from PNETLab Store
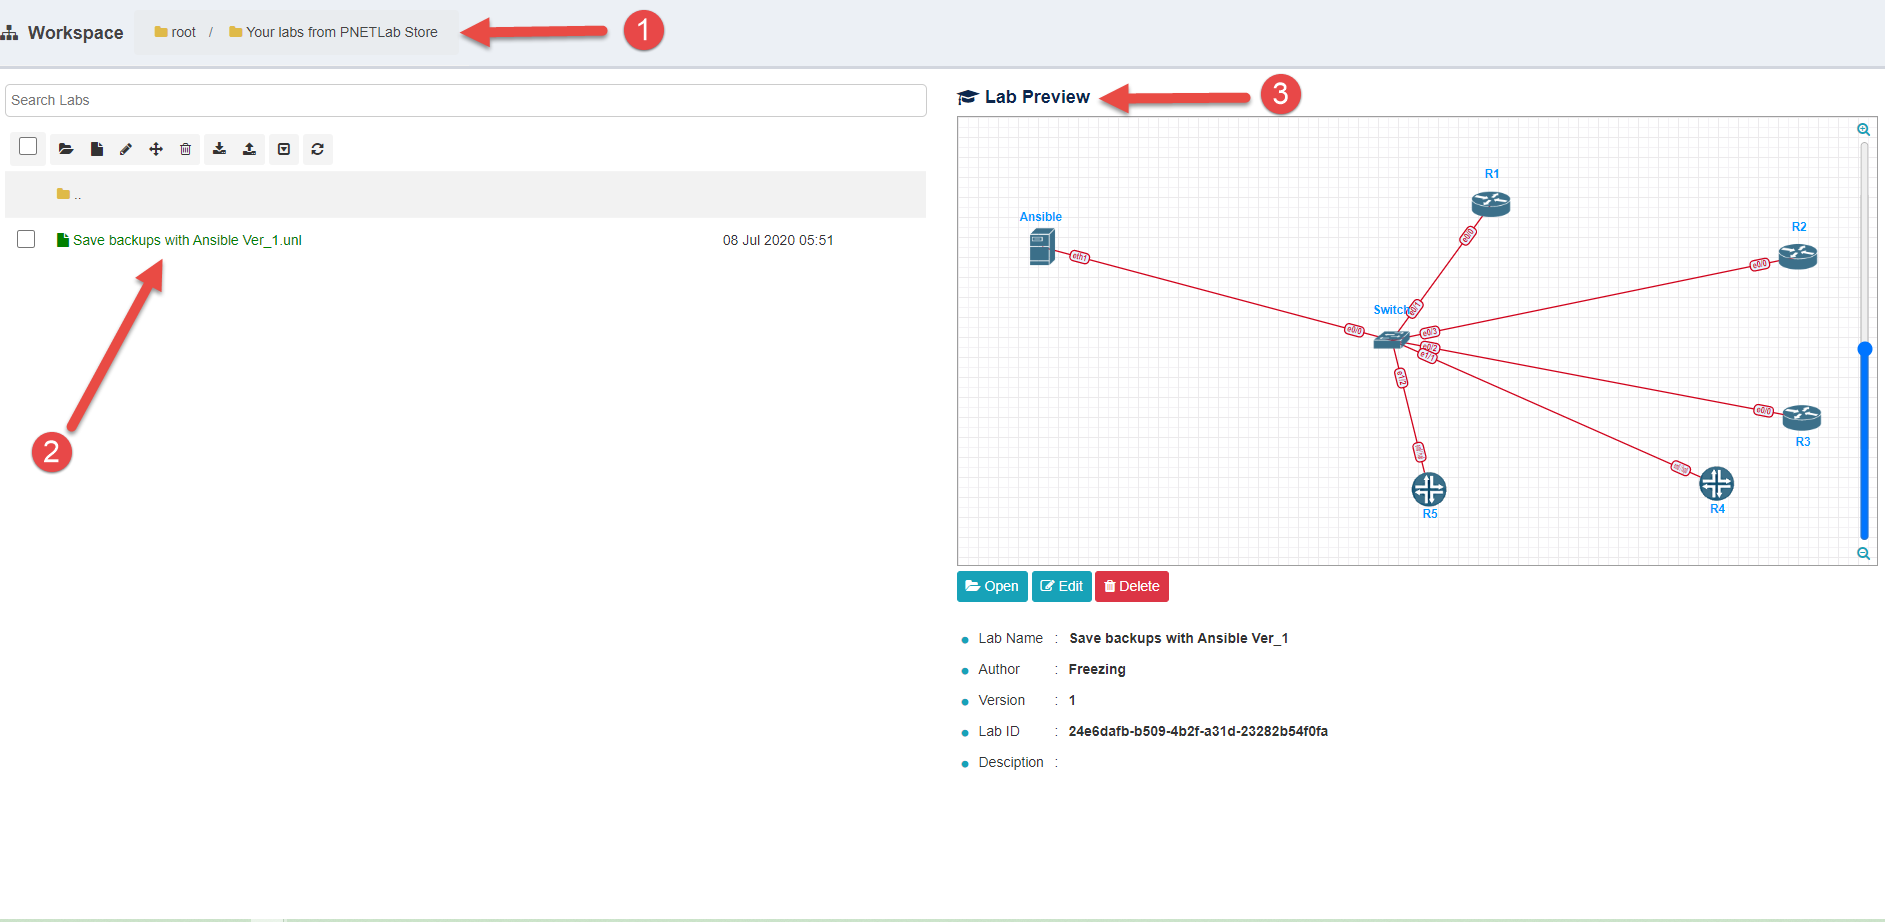
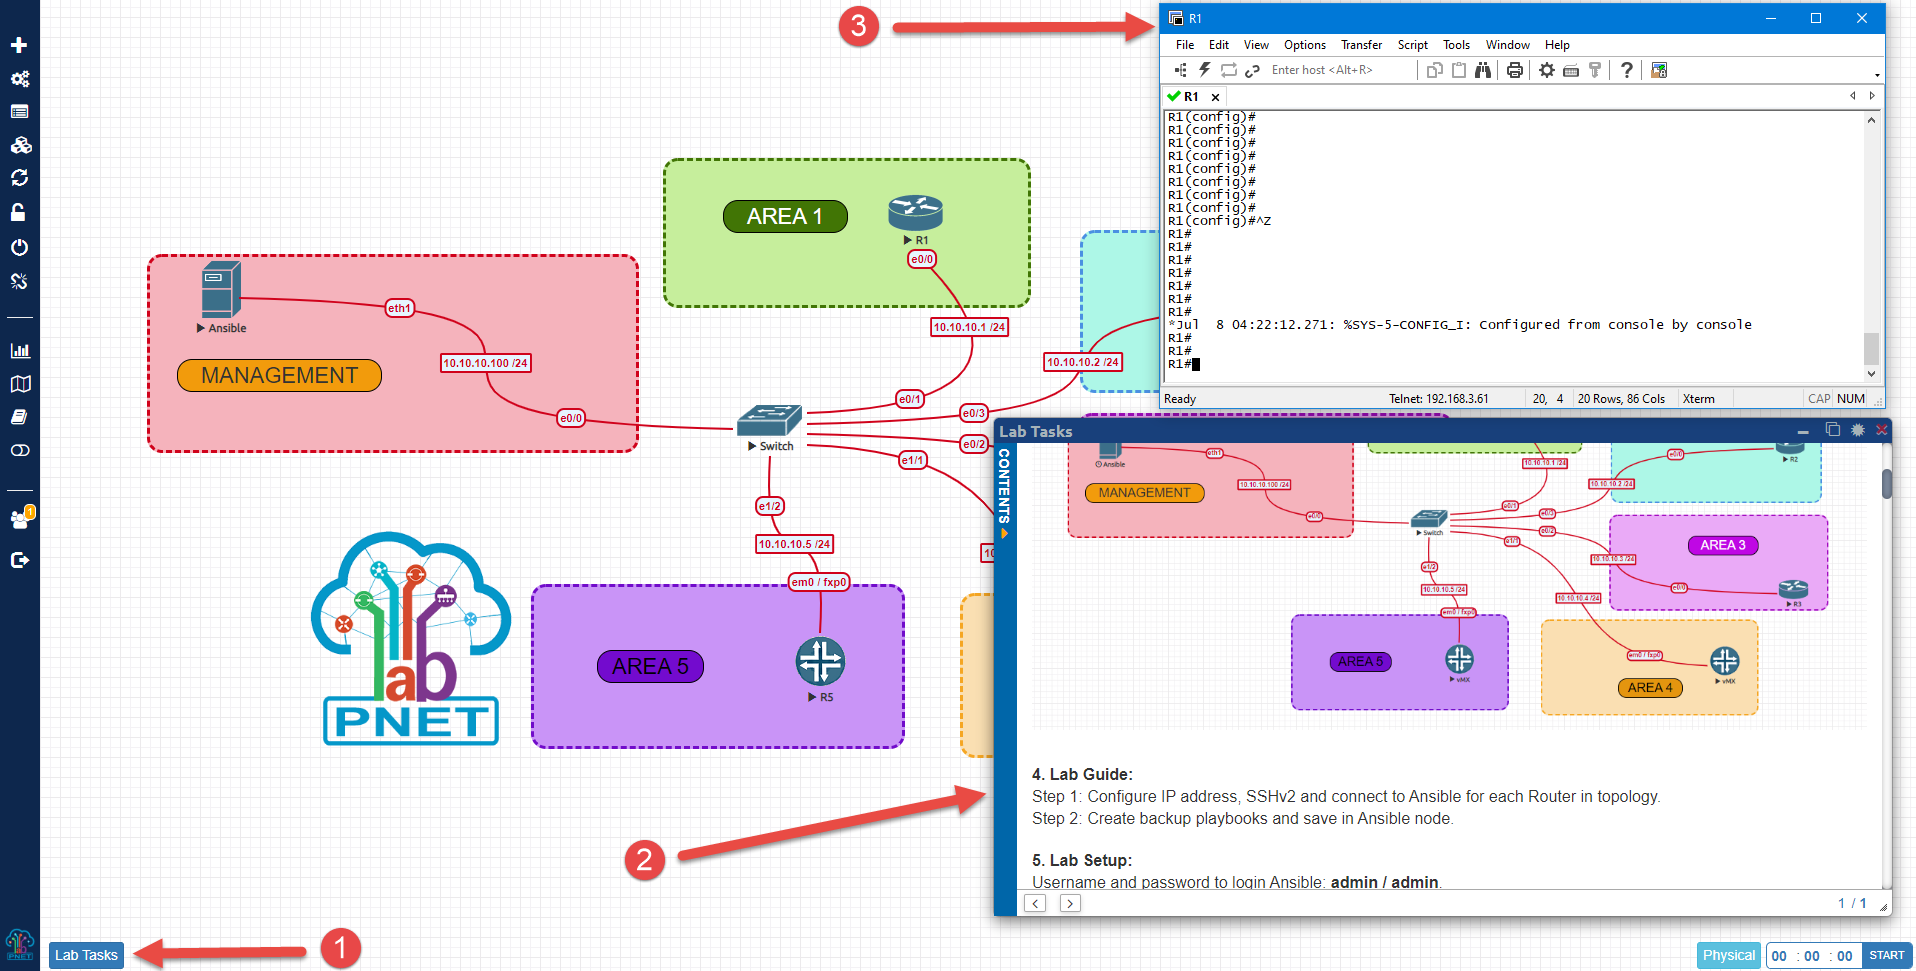
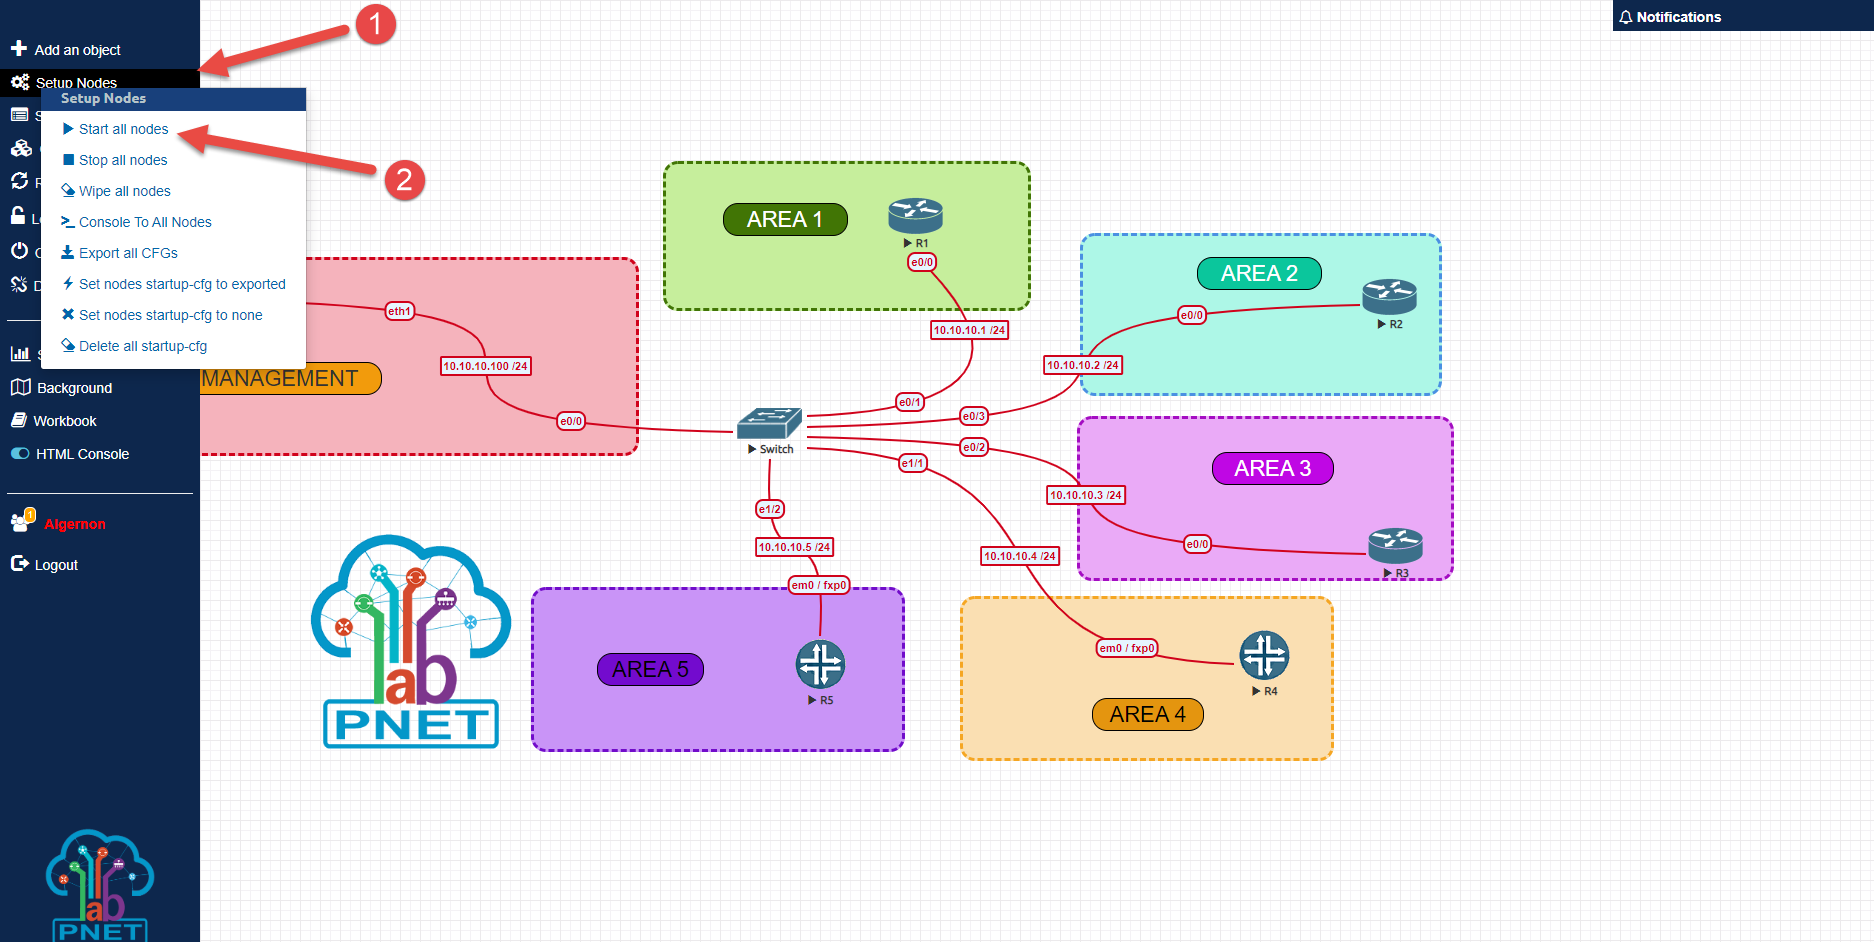
- Practice your lab: Open lab then Start all nodes
-
Open Workbook (Lab task)
-
Console
(There are two type of console: HTML Console and Native Console)
- HTML Console: Turn on HTML console by click on button HTML Console at the left sidebar menu.
- Native Console: You need to install client packages. Refer: https://pnetlab.com/pages/documentation?slug=how-to-console-to-devices