RouterOS configuration
Add a new WireGuard interface and assign an IP address to it.
/interface wireguard``add ``listen-port``=13231` `name``=wireguard1``/ip address``add ``address``=192.168.100.1/24` `interface``=wireguard1
Adding a new WireGuard interface will automatically generate a pair of private and public keys. You will need to configure the public key on your remote devices. To obtain the public key value, simply print out the interface details.
[admin@home] > ``/interface wireguard ``print``Flags``: X - disabled; R - running`` ``0 R ``name``=``"wireguard1"` `mtu``=1420` `listen-port``=13231` `private-key``=``"cBPD6JNvbEQr73gJ7NmwepSrSPK3np381AWGvBk/QkU="`` ``public-key``=``"VmGMh+cwPdb8//NOhuf1i1VIThypkMQrKAO9Y55ghG8="
For the next steps, you will need to figure out the public key of the remote device. Once you have it, add a new peer by specifying the public key of the remote device and allowed addresses that will be allowed over the WireGuard tunnel.
/interface wireguard peers``add ``allowed-address``=192.168.100.2/32` `interface``=wireguard1` `public-key``=``"<paste public key from remote device here>"
Firewall considerations
If you have default or strict firewall configured, you need to allow remote device to establish the WireGuard connection to your device.
/ip firewall filter``add ``action``=accept` `chain``=input` `comment``=``"allow WireGuard"` `dst-port``=13231` `protocol``=udp` `place-before``=1
To allow remote devices to connect to the RouterOS services (e.g. request DNS), allow the WireGuard subnet in input chain.
/ip firewall filter``add ``action``=accept` `chain``=input` `comment``=``"allow WireGuard traffic"` `src-address``=192.168.100.0/24` `place-before``=1
Or simply add the WireGuard interface to “LAN” interface list.
/interface list member``add ``interface``=wireguard1` `list``=LAN
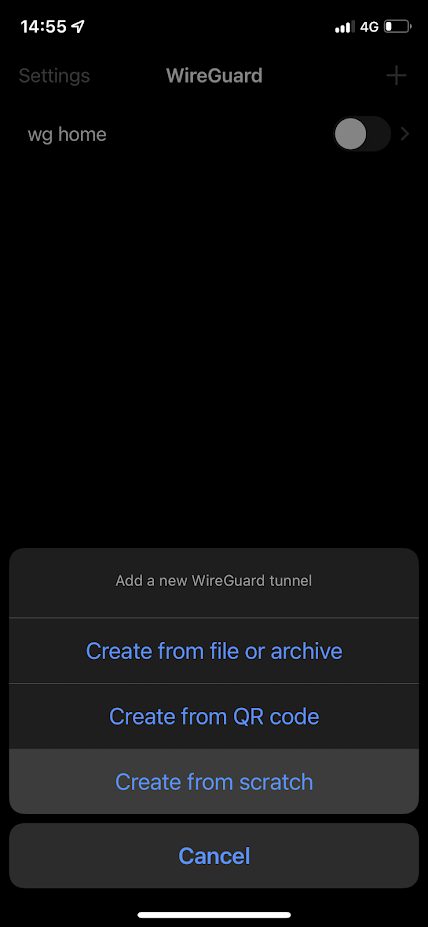
iOS configuration
Download the WireGuard application from the App Store. Open it up and create a new configuration from scratch.
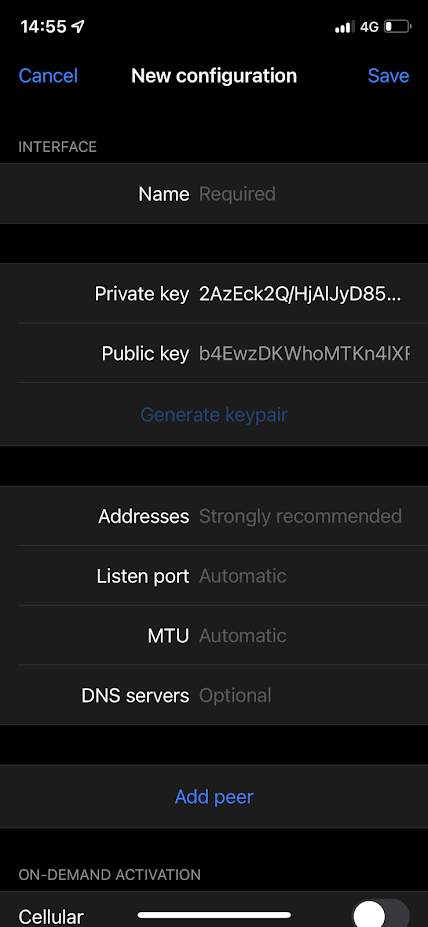
First of all give your connection a “Name” and choose to generate a keypair. The generated public key is necessary for peer’s configuration on RouterOS side.
** **
**
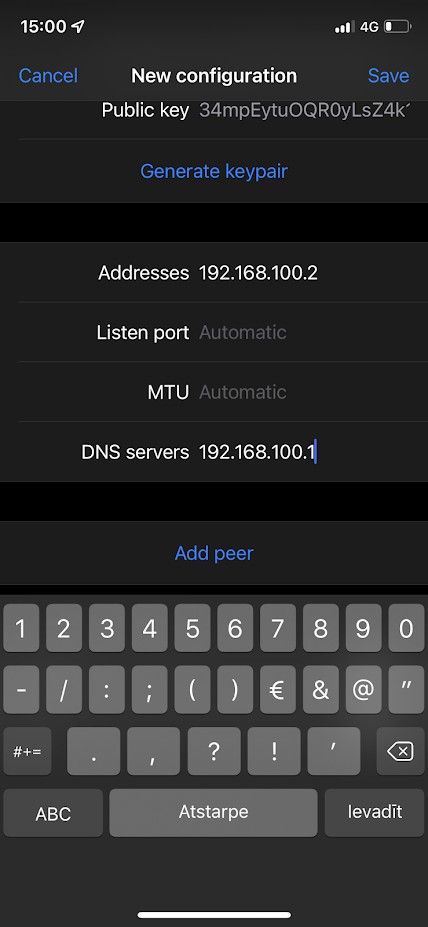
Specify an IP address in “Addresses” field that is in the same subnet as configured on the server side. This address will be used for communication. For this example, we used 192.168.100.1/24 on the RouterOS side, you can use 192.168.100.2 here.
If necessary, configure the DNS servers. If allow-remote-requests is set to yes under IP/DNS section on the RouterOS side, you can specify the remote WireGuard IP address here.
** **
**
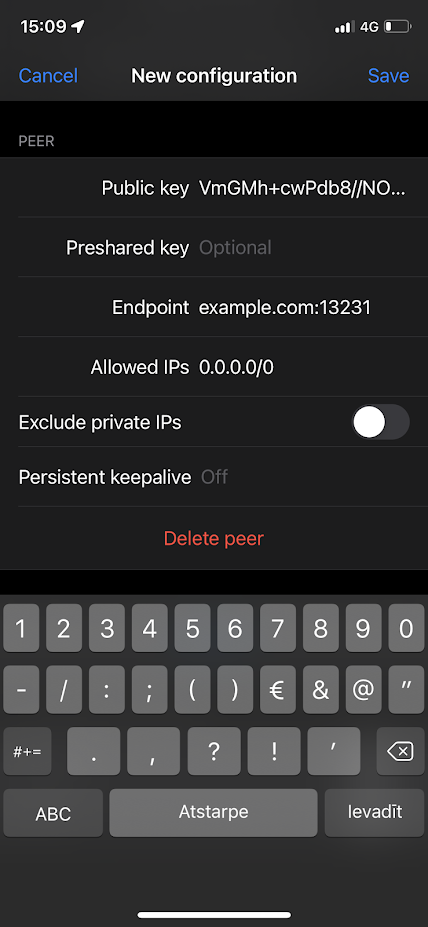
Click “Add peer” which reveals more parameters.
The “Public key” value is the public key value that is generated on the WireGuard interface on RouterOS side.
“Endpoint” is the IP or DNS with port number of the RouterOS device that the iOS device can communicate with over the Internet.
“Allowed IPs” are set to 0.0.0.0/0 to allow all traffic to be sent over the WireGuard tunnel.
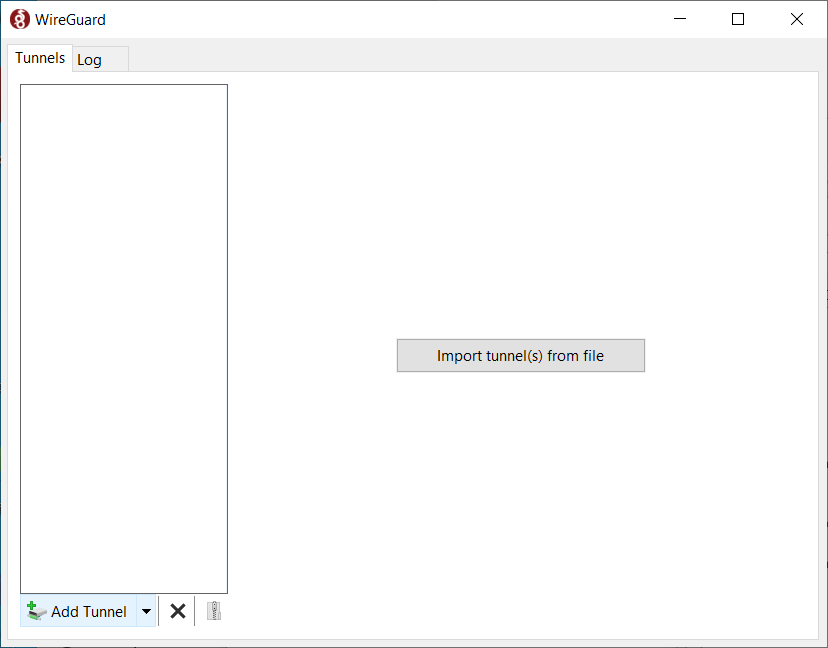
Windows 10 configuration
Download WireGuard installer from Wireguard Run as Administrator.
Press Ctrl+n to add new empty tunnel, add name for interface, Public key should be auto generated copy it to RouterOS peer configuration. Add to server configuration, so full configuration looks like this (keep your auto generated PrivateKey in [Interface] section:
[Interface]``PrivateKey = your_autogenerated_public_key=``Address = ``192.168``.``100.2``/``24``DNS = ``192.168``.``100.1` `[Peer]``PublicKey = your_MikroTik_public_KEY=``AllowedIPs = ``0.0``.``0.0``/``0``Endpoint = example.com:``13231